Head-to-Head Comparisons & Performance Tests
Best French Press for Coffee: Anaerobic & Carbonic Tested
6th Jun•13 min read
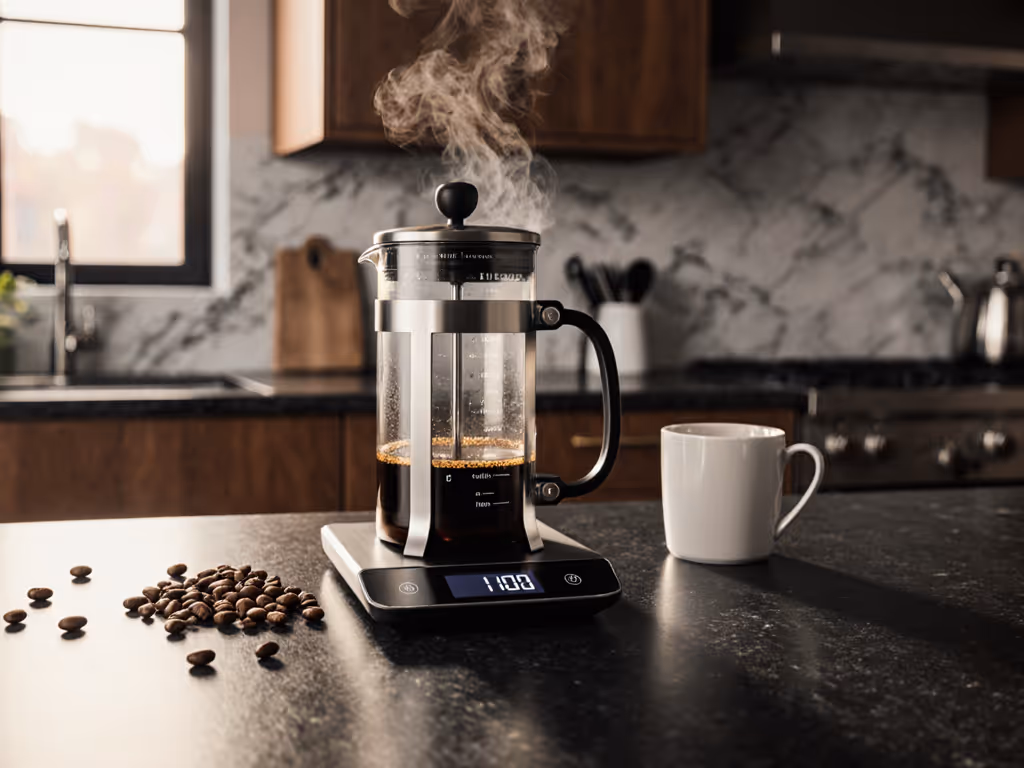
When you brew a coffee maker french press without monitoring water temperature, you're leaving repeatability on the table. A temperature control french press gives you the instrument to dial in extraction exactly, cup after cup. This isn't fussiness; it's the difference between muddy, over-extracted sludge and a clean, flavorful immersion brew that tastes deliberate rather than accidental.
I learned this the hard way at 5 a.m. on a windswept ridge when my plastic-framed press cracked mid-plunge. The coffee spilled, the mood tanked, and the lesson stuck: gear fails when untested. My replacement (stainless, silicone-bumpered) has now brewed across sandstone, snow, and truck tailgates. Cold dawns taught me that if your brewing method can't hold a simple variable like temperature stable, everything downstream suffers. The stainless press keeps water hot enough to extract properly, even when the air temperature drops below freezing. That reliability is what separates gear from camp art.
This guide walks you through why precision brewing test protocols matter, how to measure and control water temperature in your press, and how to build a repeatable system that works whether you're in your kitchen, your office, or your camp.
Water temperature is the single most controllable variable in French press brewing, and it dictates extraction speed and flavor profile. Research confirms that ideal water temperature sits between 195°F and 212°F (90.6°C to 100°C).[7] Below that window, extraction slows; above it, you risk over-extraction and bitter notes.[7]
But temperature isn't static. A traditional glass press loses heat almost immediately.[7] For model-by-model temperature drop data, see our French press heat retention test. By the time you finish pouring and let the brew sit for four minutes, internal temperature has often dropped 20 to 30°F. This drift creates batch-to-batch variation, the core frustration for anyone chasing repeatable flavor.
A thermal stability analysis reveals the problem clearly: uninsulated glass carafes shed heat faster than you can brew. Insulated stainless steel maintains temperature throughout the steep, meaning your extraction window stays consistent. The water that touched the grounds at minute one behaves similarly to water at minute four.
Darker roasts are more forgiving; they can start at 180°F to 190°F without over-extracting.[7] Light and medium roasts perform best at 205°F.[7] If you shift roast profiles without adjusting water temperature, you'll taste the difference immediately: bitterness creeping in, or a thin, under-developed cup. Precision solves this.
You cannot control what you don't measure. Before you ever brew a cup with a new press, establish baseline data.
What you need:
Steps:
This field log establishes your press's heat-retention profile. Uninsulated glass will show a steep decline; insulated stainless will hold much steadier. A double-wall stainless press like the Barista Warrior model, with its vacuum-insulated design, typically maintains within 5 to 10°F over a four-minute brew window.[2] Dive deeper into double-wall vacuum insulation and why it keeps coffee hotter without over-extracting. That consistency is the payoff.
Now that you know how fast your press loses heat, adjust your initial pour temperature to compensate.
Logic: If your uninsulated glass press drops 25°F during a four-minute steep, and you want the brew to average 200°F, pour water that starts at 225°F. Your press will deliver closer to your target range throughout the immersion.
Steps:
A temperature-controlled kettle simplifies this step; you set it once, and it holds steady. Models designed for coffee brewing typically allow precision in 1-degree increments. This removes guesswork from the equation. For backcountry trips, a standard kettle works fine if you have 30 seconds of patience and an accurate thermometer.
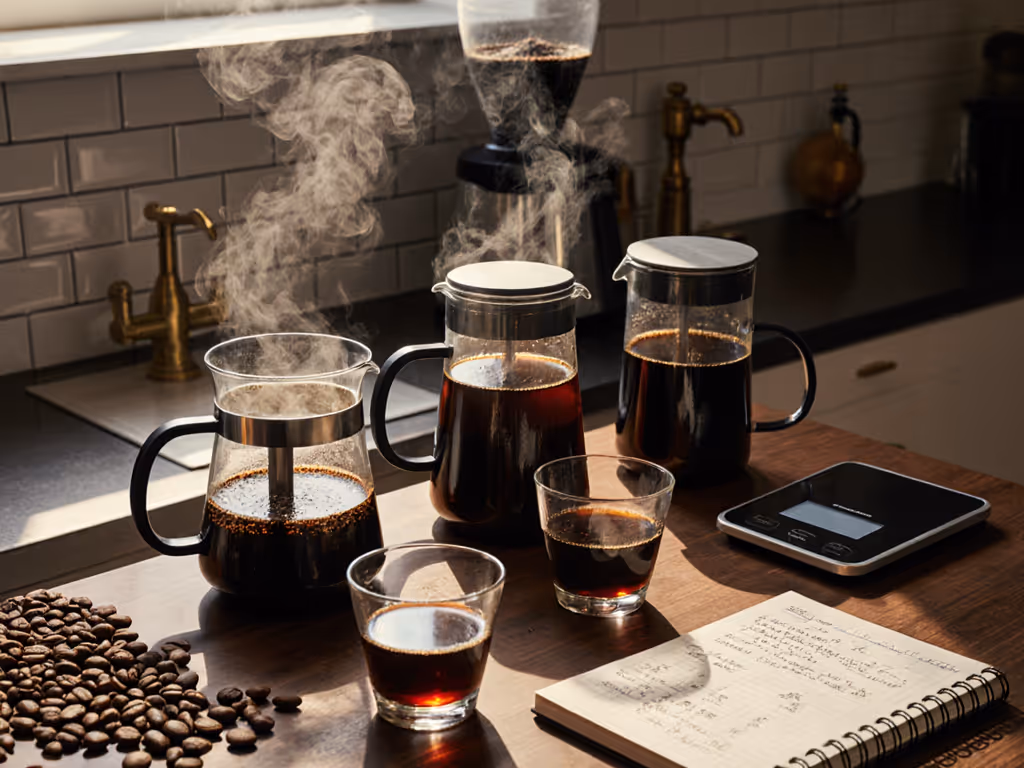
Precision brewing test methodology requires you to track temperature across the entire steep, not just at the start.
Steps:
After three brews, you'll see the pattern. This is your thermal baseline. Once you own this data, you can brew the same coffee and expect the same extraction behavior, because you've removed temperature as a variable.
Temperature control means nothing if your cup doesn't taste better. Cross-check temperature data against flavor notes.
Steps:
You'll discover your press's sweet spot. For many, that's the 200–205°F band. Darker roasts might shine at 185°F. Light roasts might need 210°F to reach full complexity. This is your dial-in point.
| Method | Precision | Packability | Cost | Best For |
|---|---|---|---|---|
| Instant-read thermometer + standard kettle | Moderate (±2°F with practice) | High (pocket-sized) | $20–40 | Backcountry; budget-conscious home brewers |
| Temperature-controlled kettle | High (±1°F) | Medium (countertop fixture) | $80–200 | Home and office consistency seekers |
| Insulated press with built-in thermometer | High for thermal stability; visual feedback | Medium (heavier) | $60–120 | Home brewers valuing automation and precision |
| Standard glass press + data logging | Moderate (math-based adjustment) | Low (fragile) | $15–50 | Not recommended; relies on assumptions |
If it fails cold dawns, it's camp art, not gear.
For field use, an insulated stainless press with a simple dial thermometer built into the carafe removes guesswork without adding fragility. You read the temperature, adjust your pour, and move on. Tie it down or drink it cold.
Once you've established your press's temperature profile, build a repeatable morning protocol.
Home routine (5 minutes total):
Office routine (6 minutes total):
Backcountry routine:
The data you collected in Steps 1 to 3 now becomes your field reference. You know exactly how your press behaves in cold conditions. Adjust accordingly (if your press loses 30°F in a 4-minute steep at sea level, it might lose 35°F at altitude due to lower air pressure and faster evaporation). Get altitude-specific parameters in our high-altitude French press guide. Note this in your field log.
Temperature precision improves consistency, but it doesn't eliminate other variables. Grind size, water mineral content, bean freshness, and brew time all shape flavor independently.[7] A water temperature accuracy focus is one lever among many.
Some coffee experts argue that temperature control is unnecessary for French press, that the method's forgiving nature makes exact temperature less critical than, say, espresso.[3] This is partially true. A French press tolerates 190°F to 210°F without disaster. But the distance between "acceptable" and "sublime" is precisely where temperature control lives. Repeatability is the reward.
Don't pursue precision for its own sake. Pursue it because you want the same excellent cup tomorrow morning that you made today, without thinking. That's the real goal.
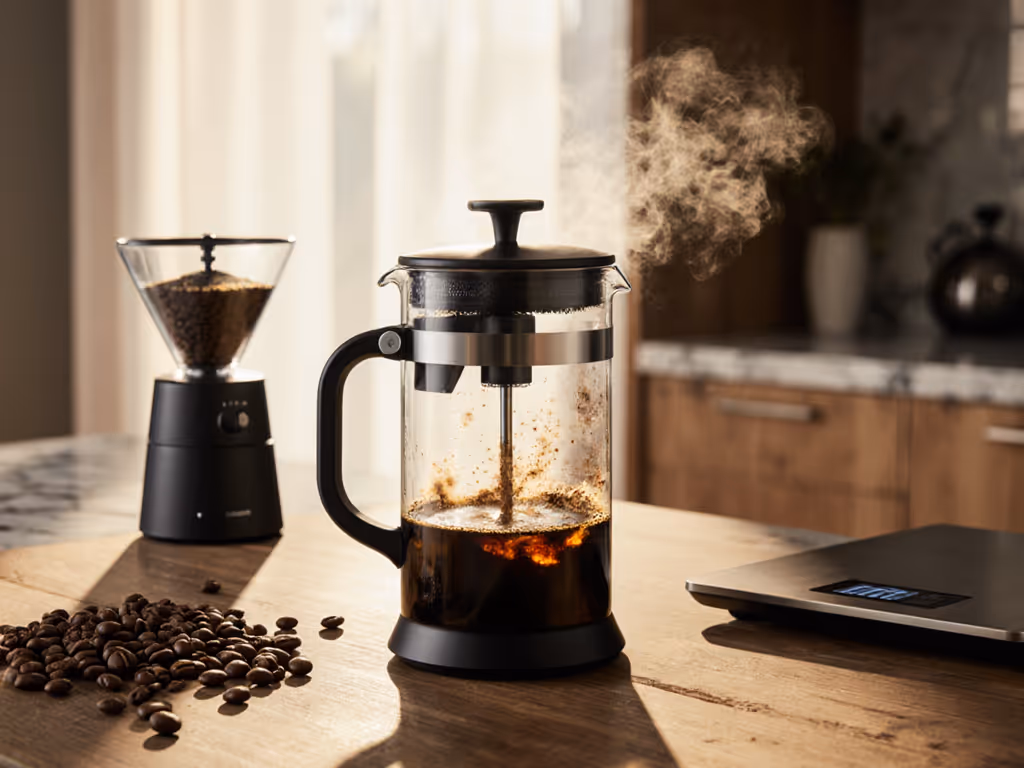
Once you've mastered temperature control, expand your testing to grind size (compare coarse, medium, and fine at your optimal pour temperature) and brew ratios (1:12, 1:15, 1:18 coffee-to-water). Each variable interacts with temperature. A coarser grind at 200°F behaves differently from a fine grind at the same temperature.
Document everything in a simple spreadsheet: date, roast, pour temperature, ambient conditions, grind size, steep time, flavor notes, and rating. After 10 to 15 brews, patterns emerge. You'll own your press's behavior rather than guessing.
For shared equipment (office or group camping), post your dial-in blueprint on a label next to the press. Include target pour temperature, brew time, and cleanup steps. This trains new users and prevents the "why does the coffee taste different today?" frustration that derails group brewing.
Temperature control is not a shortcut. It's the foundation for repeatability. Build on it.